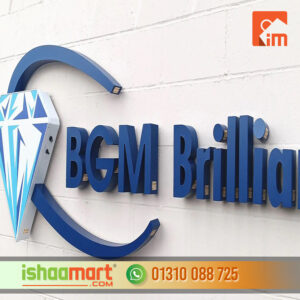
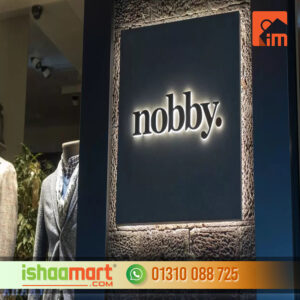
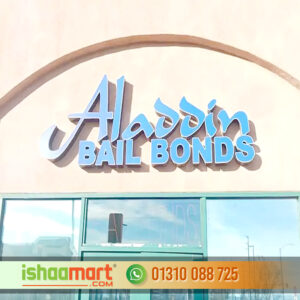
Backlit interior Letters
30.00৳
Design : Choose your Customize,
Easy to cut any size to meet your demands.
#Cutting_Wall_Glass #Spider_Glass_Partition #Euro_Model_Glass #Double_Glazing_Glass
#U_Channel_Glass_Partition #Gypsum_Board_Ceiling #Mineral_Ceiling_Board
#Metal_Board_Ceiling #PVC_Ceiling_Board #Glass_Door #Hanging_Door
#Hinge_Door #Folding_Door #Hanging_Folding_Door #Shower_Door #Shower_Hinges_Door
#Hanging_Roller_Door #Sliding_Door #Sliding_Window #Protractor_Thai_Glass_Partition
#Glass_Patision #Silling_Window #Office_Patision #Textile_Section #Curtain_Wall_Section
Backlit interior Letters
- Design the Signage: Begin by designing the individual letters or shapes that will make up the sign. Consider factors like font, size, and style to align with the overall aesthetics of the interior space. Backlit interior Letters
- Choose Materials: Select appropriate materials for the letters. Common options include acrylic, metal, or other plastics. These materials can be shaped and fabricated to create the desired three-dimensional effect.
- Fabricate the Letters: Use cutting and shaping techniques to create the individual letters. This might involve processes like laser cutting, CNC machining, or thermoforming, depending on the chosen material.
- Add Lighting Elements: Integrate lighting components behind the letters. LED modules or strips are often used due to their energy efficiency and even illumination.
- Position the Lighting: Arrange the lighting elements to ensure they evenly illuminate the interior and edges of each letter. Proper positioning is crucial for achieving a uniform and visually appealing glow.
Backlit interior Letters
- Wire the Lighting Components: Connect the LED lights to a power source. This may involve routing wires discreetly within the letters or behind the mounting surface for a clean appearance.
- Mount the Letters: Attach the individual letters to a backplate or mounting surface. This backplate serves as the base onto which the letters are secured and provides a surface for mounting the lighting components.
- Install the Signage: Mount the completed backlit interior letters sign in its intended indoor location, typically on a wall or other suitable surface.
- Test the Lighting: Turn on the lights to ensure they are functioning correctly and providing the desired level of illumination.
- Fine-tune and Maintain: Make any necessary adjustments to ensure the sign looks its best. Regular maintenance may be required to replace bulbs or address any issues that arise over time.
Design : Choose your Customize,
Easy to cut any size to meet your demands.
#Cutting_Wall_Glass #Spider_Glass_Partition #Euro_Model_Glass #Double_Glazing_Glass
#U_Channel_Glass_Partition #Gypsum_Board_Ceiling #Mineral_Ceiling_Board
#Metal_Board_Ceiling #PVC_Ceiling_Board #Glass_Door #Hanging_Door
#Hinge_Door #Folding_Door #Hanging_Folding_Door #Shower_Door #Shower_Hinges_Door
#Hanging_Roller_Door #Sliding_Door #Sliding_Window #Protractor_Thai_Glass_Partition
#Glass_Patision #Silling_Window #Office_Patision #Textile_Section #Curtain_Wall_Section








Reviews
There are no reviews yet.