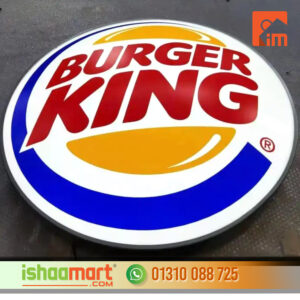
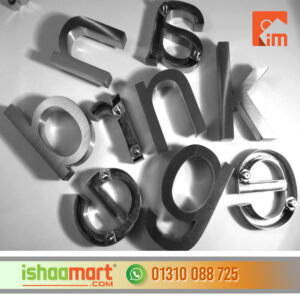
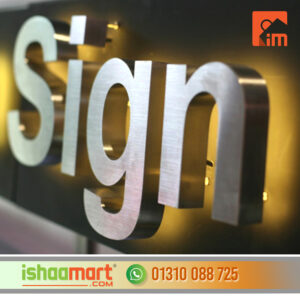
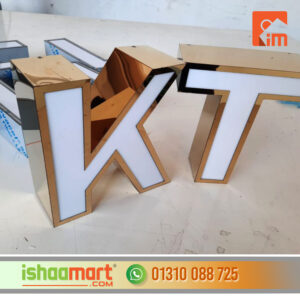
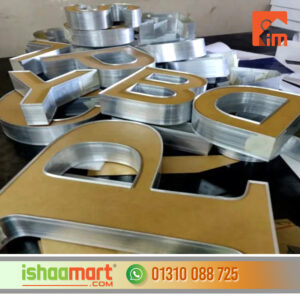
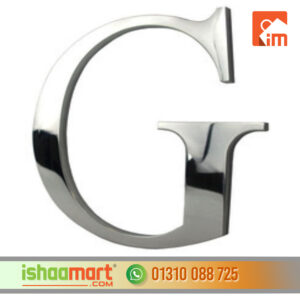
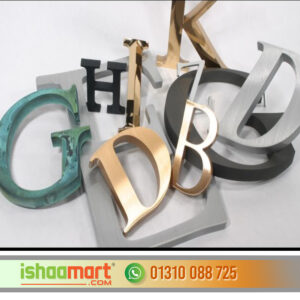
Laser cutting acrylic logo letter sign bd
320.00৳
Sold By:
Ishaa Mart
In stock
ADVERTISING AGENCY IN BANGLADESH | ALUMINIUM COMPOSITE PANEL BD | ALUMINIUM THAI GLASS DESIGN BD | BILLBOARD ADVERTISING AND RENT | CAR RENT | EVENT MANAGEMENT COMPANY BD | GLASS STICKER SUPPLIER AND PROVIDER | ICONE DEVELOPER | SIGNBOARD SOLUTION | ONLINE SHOPPING COMPLEX | ACRYLIC 3D SS LETTER SIGNAGE | SIGNBOARD AND BILLBOARD MANUFACTURER BANGLADESH | ISHATECH IT SOLUTION | LED SIGN BAZAR | LED SIGN BD LTD | NAMEPLATE SUPPLIER AND PROVIDER SHOP | NEON SIGNS | SS SIGNS | PANA SIGNS | SIGNBOARD MAKER BANGLADESH | SHOP SIGN BANGLADESH | GLASS PROVIDER | WALL STICKER
Call Now: +8801310088725
Categories: ACRYLIC 3D LETTER, All Common Link, Led Letter, LETTER SIGNAGE, Metal Letters, MIRROR LETTER, SS LETTER
Laser cutting acrylic logo letter sign bd
Laser cutting acrylic logo letter sign bd
- Conceptualization and Design:
- Begin by conceptualizing the design of your logo signboard. Consider factors such as the size, shape, color scheme, and any specific features you want to incorporate.
- Work with a graphic designer or use design software to create a detailed design for your signboard.
- Material Selection:
- Choose acrylic for the main body of the signboard. Acrylic is a versatile material that can be cut precisely and allows for different finishing options.
- Decide on the glass components and any additional materials needed for the design.
- Acrylic Cutting:
- Utilize laser cutting or another precision cutting method to cut the acrylic according to your design specifications.
- Ensure that the cutting is precise to achieve sharp and clean edges.
- Glass Integration:
- If your design includes a glass body, integrate the glass components into the signboard. This may involve securing the glass within the acrylic structure.
- Logo Implementation:
- Apply the logo to the acrylic body. This could involve vinyl lettering, digital printing, or other suitable methods.
- Finishing:
- Apply any desired finishing touches to the acrylic and glass components. This could include polishing, painting, or adding other decorative elements.
- Quality Check:
- Conduct a thorough quality check to ensure that the acrylic and glass components are in excellent condition and that the logo is applied correctly.
- Mounting Structure:
- Create a sturdy mounting structure for the signboard. Consider the weight and dimensions of the sign when designing the mounting system.
- Installation:
- Coordinate with a professional installer to mount the sign securely at the desired location. Ensure that the sign is level, aligned, and securely attached to the chosen surface.
- Testing:
- Test the overall structure to ensure its stability and durability. Ensure that any lighting or electrical components, if included, are functioning correctly.
- Maintenance and Care:
- Discuss maintenance requirements and care instructions for your signage, especially if it includes glass components. Regular maintenance will help ensure the longevity and continued visual appeal of the sign.
Remember, this is a general guide, and specific steps may vary based on your unique design and requirements. It’s advisable to work with experienced signage manufacturers or fabricators in Dhaka who can provide tailored solutions for your project.
You
Laser cutting acrylic logo letter sign bd
ChatGPT
ChatGPT
Creating a laser-cut acrylic logo letter sign involves precision cutting and design considerations. Here’s a general guide on how you might approach this project in Bangladesh:
- Conceptualization and Design:
- Begin by conceptualizing the design of your logo letter sign. Consider the shape, size, font, and any other design elements.
- Work with a graphic designer or use design software to create a detailed design for your sign, ensuring it is suitable for laser cutting.
- Material Selection:
- Choose acrylic as the main material for your sign. Acrylic is commonly used for its versatility and suitability for laser cutting.
- Design File Preparation:
- Convert your logo design into a vector format. Vector files are ideal for laser cutting as they maintain precision and sharpness regardless of size.
- Laser Cutting:
- Use a laser cutting machine to cut the acrylic according to your design. Laser cutting allows for intricate and precise cuts, creating sharp edges.
- Ensure that the laser settings are calibrated correctly for the thickness of the acrylic.
- Quality Check:
- Conduct a thorough quality check to ensure that the laser-cut acrylic letters are precisely cut and free of any imperfections.
- Additional Finishing (Optional):
- Depending on your design, you may choose to add additional finishing touches to the acrylic letters. This could include polishing, painting, or adding other decorative elements.
- Mounting Structure:
- Create a mounting structure or backing for the laser-cut acrylic letters. This may involve attaching the letters to a backing board or directly mounting them on a surface.
- Installation:
- Coordinate with a professional installer to mount the sign securely at the desired location. Ensure that the sign is level, aligned, and securely attached to the chosen surface.
- Testing:
- Test the overall structure to ensure stability and durability. If you have lighting elements incorporated, ensure they are functioning correctly.
- Maintenance and Care:
- Discuss maintenance requirements and care instructions for your laser-cut acrylic sign. Regular cleaning and care will help maintain the visual appeal of the sign over time.ADVERTISING AGENCY IN BANGLADESH | ALUMINIUM COMPOSITE PANEL BD | ALUMINIUM THAI GLASS DESIGN BD | BILLBOARD ADVERTISING AND RENT | CAR RENT | EVENT MANAGEMENT COMPANY BD | GLASS STICKER SUPPLIER AND PROVIDER | ICONE DEVELOPER | SIGNBOARD SOLUTION | ONLINE SHOPPING COMPLEX | ACRYLIC 3D SS LETTER SIGNAGE | SIGNBOARD AND BILLBOARD MANUFACTURER BANGLADESH | ISHATECH IT SOLUTION | LED SIGN BAZAR | LED SIGN BD LTD | NAMEPLATE SUPPLIER AND PROVIDER SHOP | NEON SIGNS | SS SIGNS | PANA SIGNS | SIGNBOARD MAKER BANGLADESH | SHOP SIGN BANGLADESH | GLASS PROVIDER | WALL STICKER
Call Now: +8801310088725
- Discuss maintenance requirements and care instructions for your laser-cut acrylic sign. Regular cleaning and care will help maintain the visual appeal of the sign over time.ADVERTISING AGENCY IN BANGLADESH | ALUMINIUM COMPOSITE PANEL BD | ALUMINIUM THAI GLASS DESIGN BD | BILLBOARD ADVERTISING AND RENT | CAR RENT | EVENT MANAGEMENT COMPANY BD | GLASS STICKER SUPPLIER AND PROVIDER | ICONE DEVELOPER | SIGNBOARD SOLUTION | ONLINE SHOPPING COMPLEX | ACRYLIC 3D SS LETTER SIGNAGE | SIGNBOARD AND BILLBOARD MANUFACTURER BANGLADESH | ISHATECH IT SOLUTION | LED SIGN BAZAR | LED SIGN BD LTD | NAMEPLATE SUPPLIER AND PROVIDER SHOP | NEON SIGNS | SS SIGNS | PANA SIGNS | SIGNBOARD MAKER BANGLADESH | SHOP SIGN BANGLADESH | GLASS PROVIDER | WALL STICKER
Be the first to review “Laser cutting acrylic logo letter sign bd” Cancel reply
-
1,000.00৳
-
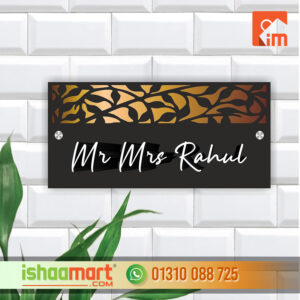
Building Name Plate Signage
Sold By: Ishaa Mart36.00৳ -
60.00৳
-
320.00৳
-
1,000.00৳




Reviews
There are no reviews yet.