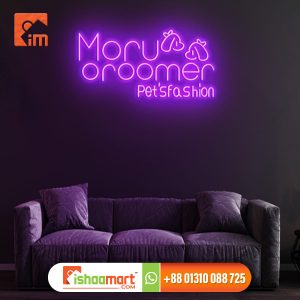
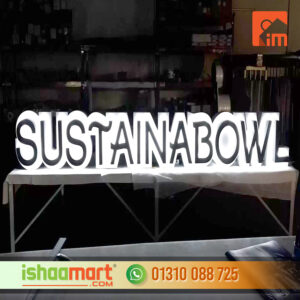
Back illuminated sign Rendering

19.00৳
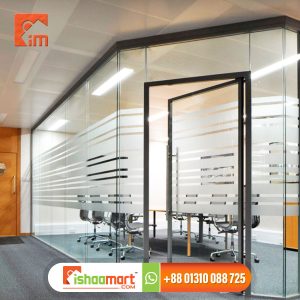
Design : Choose your Customize,
Easy to cut any size to meet your demands.
#Cutting_Wall_Glass #Spider_Glass_Partition #Euro_Model_Glass #Double_Glazing_Glass
#U_Channel_Glass_Partition #Gypsum_Board_Ceiling #Mineral_Ceiling_Board
#Metal_Board_Ceiling #PVC_Ceiling_Board #Glass_Door #Hanging_Door
#Hinge_Door #Folding_Door #Hanging_Folding_Door #Shower_Door #Shower_Hinges_Door
#Hanging_Roller_Door #Sliding_Door #Sliding_Window #Protractor_Thai_Glass_Partition
#Glass_Patision #Silling_Window #Office_Patision #Textile_Section #Curtain_Wall_Section
Back illuminated sign Rendering
- Design the Sign: Begin by creating the visual design of the sign. This includes the layout, text, graphics, and any other elements that will be part of the sign. Back illuminated sign Rendering
- Add Lighting Elements: Incorporate light sources into the design, typically positioned behind the sign. These lights will illuminate the sign from the back, creating a distinctive glowing effect.
- Adjust Lighting Properties: Configure the properties of the lights, such as intensity, color temperature, and distribution, to achieve the desired level of illumination and atmosphere.
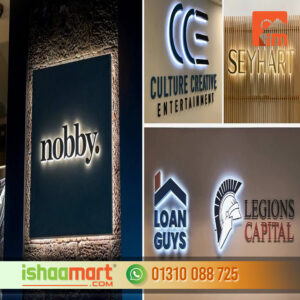
- Apply Materials and Textures: Assign appropriate materials and textures to the sign elements. Consider factors like reflectivity, transparency, and diffusion to ensure the light interacts realistically with the surfaces.
- Set Up the Scene: Create a 3D environment or background for the sign. This could be a simple studio backdrop or a more complex scene depending on the context in which the sign will be placed.
- Position and Scale the Sign: Place the sign within the scene and adjust its size and orientation to fit the context appropriately.
Back illuminated sign Rendering
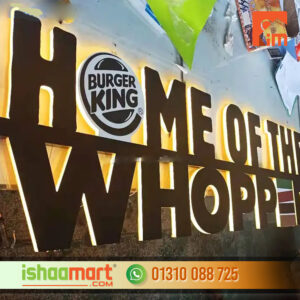
- Configure Camera and Viewpoint: Set up the camera to capture the desired angle and composition of the scene. Consider factors like perspective, framing, and focal length.
- Render the Image: Use the rendering capabilities of the 3D software to generate a high-quality image or animation of the back-illuminated sign.
- Review and Refine: Examine the render and make any necessary adjustments to achieve the desired look. This may involve tweaking lighting settings, materials, or camera parameters.
- Export and Present: Once satisfied with the rendering, export it in the desired file format for presentation. This could be for client approval, marketing materials, or further production steps.
Design : Choose your Customize,
Easy to cut any size to meet your demands.
#Cutting_Wall_Glass #Spider_Glass_Partition #Euro_Model_Glass #Double_Glazing_Glass
#U_Channel_Glass_Partition #Gypsum_Board_Ceiling #Mineral_Ceiling_Board
#Metal_Board_Ceiling #PVC_Ceiling_Board #Glass_Door #Hanging_Door
#Hinge_Door #Folding_Door #Hanging_Folding_Door #Shower_Door #Shower_Hinges_Door
#Hanging_Roller_Door #Sliding_Door #Sliding_Window #Protractor_Thai_Glass_Partition
#Glass_Patision #Silling_Window #Office_Patision #Textile_Section #Curtain_Wall_Section
-

-
 1,100.00৳


Reviews
There are no reviews yet.